
It’s easy to get stuck on the big ticket items when you’re personalizing your motorcycle, but it’s the little things that make the biggest difference. Most bikes ship from the factory with unsightly lights and turn signals, and swapping those out is a quick way to tighten up your bike’s overall look.
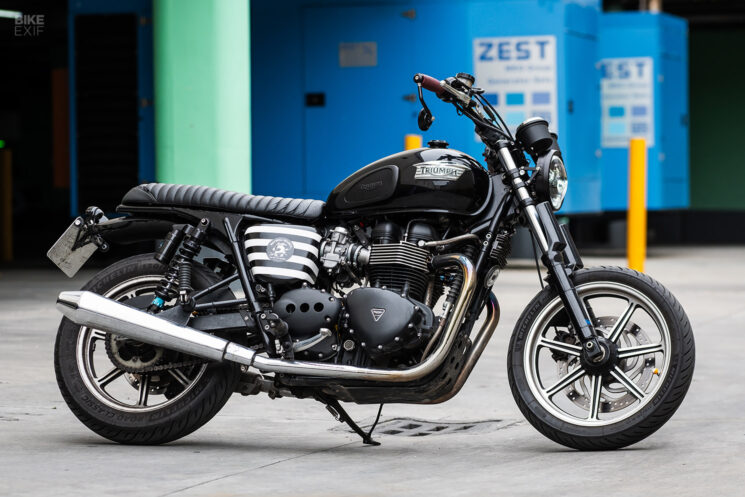
My 2012-model Triumph Bonneville SE is by no means a full-blown custom build. Instead, I’ve modified it bit by bit whenever the opportunity arises. The latest round of tweaks involved installing a new LED headlight and teeny tiny turn signals, supplied by Australia’s Purpose Built Moto.
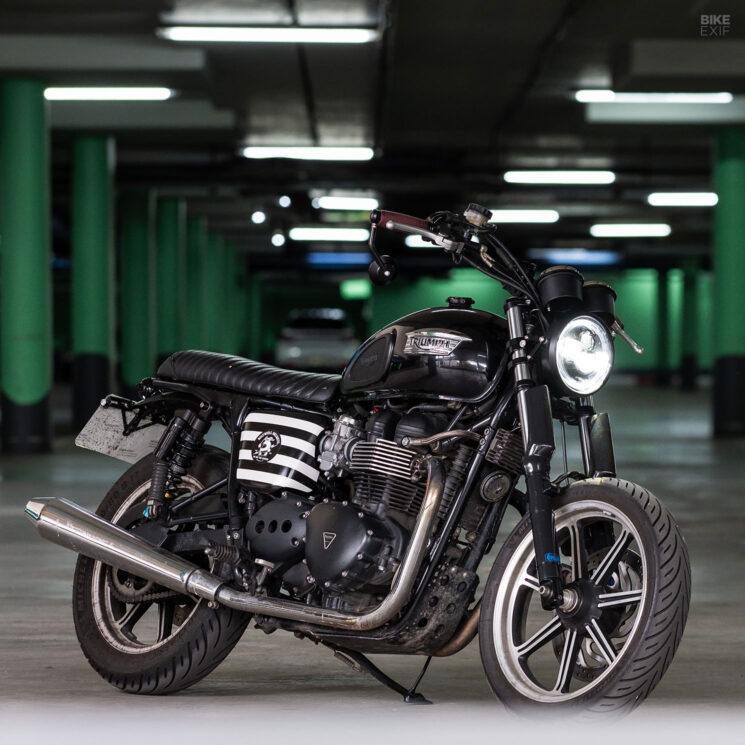
Purpose Built Moto 7” Flashpoint Classic LED headlight Available in myriad sizes, styles, and finishes, the Purpose Built Moto Flashpoint LED headlight has graced countless PBM custom builds. For my Bonneville, I picked the 7” Classic version—plus a set of PBM’s universal mounting brackets to attach it to. After some fiddling (and a bit of cursing), my Triumph had a slick new lighting setup with a tighter, cleaner look.
PBM’s parts aren’t totally plug-and-play, but they’re not particularly hard to install either. That’s because the shop designs its parts to fit just about any motorcycle, rather than tailoring them to particular models. If you’re handy with a soldering iron and have a cursory knowledge of wiring, you’re good. (PBM’s extensive catalog of how-to videos is helpful, too.)
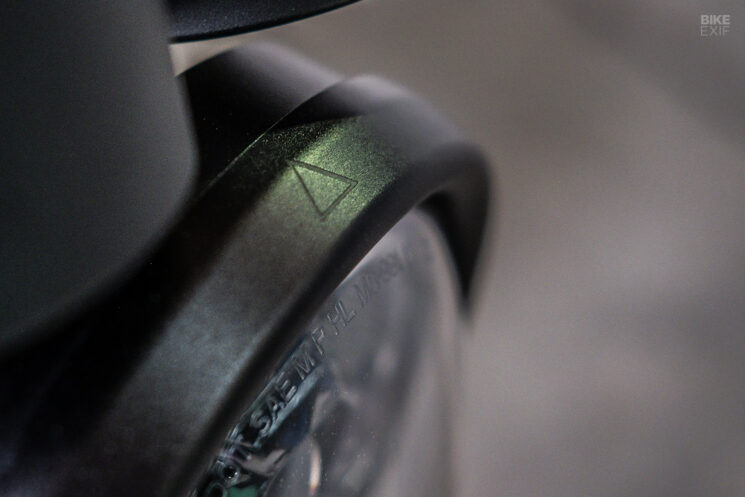
The Classic version of the Flashpoint headlight softens the modern look of an LED by enclosing the light in a sleek metal ring, mimicking a vintage headlight housing. The only branding is a small triangle (PBM’s logo) etched into the top edge of the ring.
The LED unit includes high and low beam lights, plus a daytime running light running around its circumference. The wiring is dead simple; there’s a standard three-pin H4 headlight connector, plus a short ‘adapter’ harness that links the H4 plug to another common three-pin connector. If neither connector fits your bike, you can strip the adapter harness and wire it in manually.
There’s also an extra wire and connector for hooking up the running light. If your wiring already has a daytime running light circuit, you can connect it here. If not, you can hook it up to your low-beam or high-beam circuits, install a separate switch, or leave it disconnected.
For my Bonneville, I ended up splicing the running light’s wire into the low-beam circuit so that it’s always on. Figuring it out took me a minute—but not as long as it took me to secure the headlight to the bike.
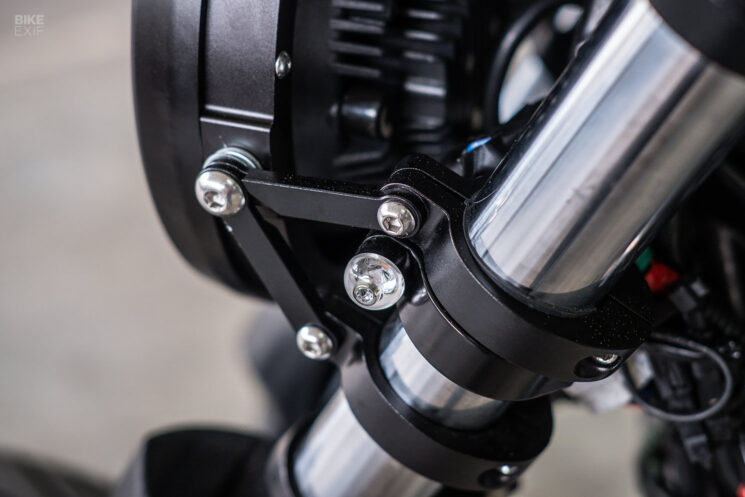
That’s no fault of the gear though. The Flashpoint headlight sports threaded holes at the sides and bottom, and it ships with a pair of domed-head M8 bolts, giving you multiple mounting options. PBM’s fork-mounted headlight ears come in three sizes, each with a range of adjustment to match the thickness of your fork tubes.
The tricky part is lining everything up—and then fine-tuning the placement. Due to their design, the PBM headlight brackets not only let you set the light’s height, but also how close it sits to the forks. But it takes a lot of measuring, setting, checking, tightening, loosening, and re-adjusting to get the headlight where you want it while ensuring both brackets sit evenly.
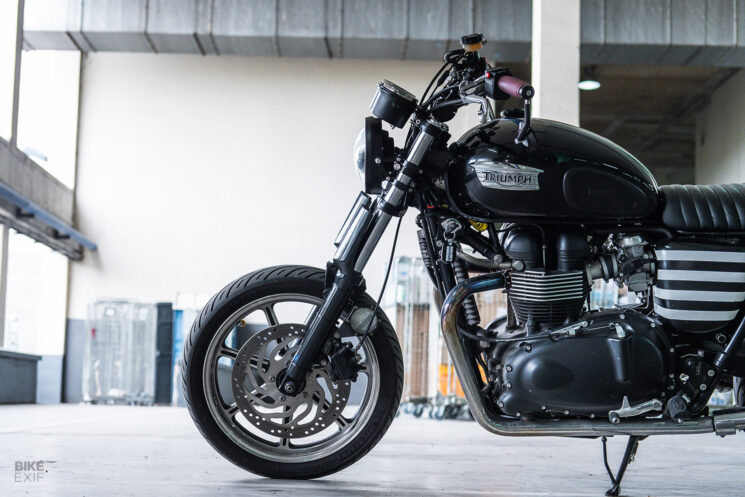
Not every bike’s forks are the same width either, so I had to slip a few washers between the headlight and the brackets to fill the gaps. In the end, I managed to get the Flashpoint headlight right where I wanted it—mounted close to the forks for a more aggressive look, and at the perfect height to tuck it under the Bonneville’s clunky dials.
My final hurdle was figuring out what to do with the mess of wires and connectors that used to live inside the Triumph’s generous headlight bucket, since the Flashpoint unit wears nothing more than a heatsink behind its lens. (As you can tell from the photos, hiding these wires is a problem I have yet to solve.)

Even with these hiccups, I had the Purpose Built Flashpoint LED headlight installed in a reasonable timeframe. On the road, the difference between a standard issue 13-year-old bulb and a brand new LED setup, with a 2,400-lumen low beam and a 4,000-lumen high beam, is night and day. The beam is nice and wide, and there’s a good balance between the throw of the low- and high-beam modes.
From a safety point of view, my bike is more visible during the day and I can see better when riding at night. From a visual point of view, it’s a minimalist and stylish unit that looks immeasurably better than the stock headlight did.

Purpose Built Moto Omni three-in-one LED turn signals Picking the right style of turn signal for a build can be a pain, especially considering how many options are out there. The PBM Omni LED is a killer option if you want something that’s modern and discreet when it’s off, but unmissable when it’s blinking.
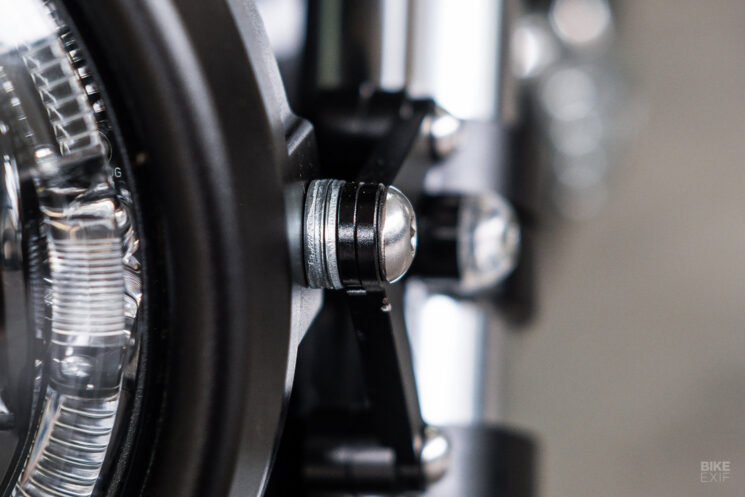
The Omni’s design is uber-simplistic. Available in black and silver options, it consists of a stubby base with a domed lens offering 360-degree illumination.

A small Allen-head fastener sits recessed into the lens, but there’s a limit on how much torque you can apply to it before it strips (don’t ask me how I know). If you really need to crank it, PBM supplies a small spanner that matches notches machined into the base of the Omni’s metal bit. They’re big enough to grip, but small enough that you hardly notice them when the turn signals are installed.
Once again, you need to apply a modicum of DIY skill to install the Omni turn signals. Each unit comes with a nut for its standard M8 thread, with stripped and pre-soldered wire ends. It’s up to you how you connect them to your bike’s wiring harness.
The real magic here is that you can install the Omni turn signals just about anywhere. For this project, I installed the rear turn signals on either side of my license plate, and the front turn signals on universal brackets from Motone, attached just below the top edge of the PBM headlight brackets. Granted, those placements are rather traditional, but the possibilities are endless.
Given that the turn signals and Flashpoint headlight both use M8 threads, you can also use the turn signals as mounting bolts for the headlight, creating an even slicker setup. I considered this, but it does take a lot of back and forth to make it work, and I don’t have the patience. (Besides, the way they’re installed now is neat enough.)

It’s also worth mentioning that you can rig these LEDs to do double duty as both turn signals and taillights, via an optional splitter cable. I’ve used them solely as turn signals, and so far, they’ve performed well.
There’s an obvious sacrifice in surface area when you ditch your OEM turn signals for something this small (the Omni’s diameter is a whopping 16 mm). But what these petite LEDs lack in size, they make up for in brightness. Just make sure you familiarize yourself with your local motorcycle roadworthiness regulations before you pull the trigger.
